Denim quality inspection is not a search for perfect garments. It is a controlled decision about whether a production lot matches the product that the brand approved. That decision requires more than counting loose threads. Inspectors must confirm style identity, metingen, fit-related construction, wash shade, verontrustend, stiksels, hardware, etikettering, packing and quantity. They must also know which findings affect safety, function, saleability or only minor appearance.
Denim makes this work unusually demanding. Variation is part of its character, but uncontrolled variation is still a defect. A whisker should not look printed on one garment and disappear on the next. A ripped knee can be intentional while a cut through the reinforcement is not. Two jeans can sit inside the approved shade band and still look mismatched if panels from different fabric lots were mixed.
This guide is written for fashion brands, technical teams, sourcing managers and denim manufacturers. It explains how to build an inspection plan, use AQL sampling correctly, classify defects, measure finished garments and make a shipment decision without confusing inspection with process control.
Inspection Is Not the Whole Quality System
Quality is created during product development and production. Inspection provides evidence about the result. A final inspector cannot correct an unstable fabric, an unapproved wash recipe or a grading error that has already been applied to every size. The inspector can identify the problem, estimate how widely it appears in the sampled lot and stop an unsupported release.
A useful denim quality system begins before bulk production:
- The fabric article, dye lots, performance limits and shade bands are approved.
- The pattern, measurement chart and grade are confirmed through fit and size-set samples.
- The wash standard includes an appearance range and a controlled process version.
- Bouw, draad, hardware, labels and packaging are signed off in a PP sample.
- Critical operations are checked during cutting, sewing and laundry.
- Final inspection compares production with those controlled references.
When the earlier controls are missing, the final inspection becomes a negotiation. The factory argues that variation is normal; the buyer argues that the sample looked different. Neither side has a measurable reference. The solution is not a stricter inspector. It is a better approval package.
Choose the Right Inspection Stage
Incoming fabric inspection
Inspect and test fabric before cutting. Confirm mill article, kleur, dye lot, breedte, gewicht, visible defects and required performance reports. Shade-group rolls and retain sealed cuttings. ASTM D5430 describes methods for visually inspecting and grading commercial fabric shipments. The buyer and supplier should use the same grading option when comparing results.
Pre-production review
A pre-production meeting checks whether the factory can reproduce the approved sample. Review the tech pack, graded pattern, bulk fabric, wash code, bouw, versieringen, etiketten, packing and testing requirements. Resolve open comments before the line starts.
Initial production inspection
Inspect the first completed units while output is still small. This stage catches incorrect labels, wrong pocket placement, faulty topstitch guides, construction substitutions and early wash drift before they multiply through the order.
During-production inspection
Sample across active sewing lines and wash loads. Look for trends: skipped stitches from one operation, shade change after a recipe adjustment, damaged rivets from one setting machine or measurement drift in one size. A good in-line finding leads to containment and correction, not merely a defect count.
Pre-final inspection
A factory can conduct a full internal review after finishing and before the buyer’s final inspection. This is the time to trim threads, replace repairable hardware, segregate shade groups and correct packing. It should not be used to hide systemic failures.
Final random inspection
The final inspection supports shipment release. It is most reliable when production is complete and packing is far enough advanced to draw cartons from across the lot. If too little is packed, the inspector cannot verify carton assortment or select a genuinely distributed sample.
Each stage answers a different question. Passing an early inspection does not guarantee the finished lot, while a failed final inspection does not reveal when the issue began unless production records are traceable.
What AQL Means in Apparel Inspection
AQL is commonly used as shorthand for an acceptance-sampling plan. The current ISO 2859-1:2026 provides AQL-indexed sampling schemes for lot-by-lot inspection by attributes. ISO 28590 introduces the ISO 2859 series and helps users select an appropriate attributes-sampling system.
The plan uses several inputs:
- Lot size: the defined quantity being offered for inspection.
- Inspection level: the level selected by the buyer or standard, which influences sample size.
- Sampling type: single, double or another permitted scheme.
- AQL: the index used with the plan for a defect or nonconformity class.
- Sample size: the number of units selected according to the plan.
- Acceptance and rejection numbers: the decision thresholds for the sampled lot.
AQL is not the percentage of defective garments a brand promises to accept in every shipment. It is not a prediction that the unsampled units contain the same defect percentage. It is not permission for the factory to build defects deliberately up to a quota. It is a statistical lot-decision tool used under defined rules.
General inspection level II is often used as a commercial starting point for workmanship inspection, but the correct level depends on the buyer’s plan, risk, history and contract. Reduced, normal and tightened inspection should be applied only under the governing rules. A new supplier or a lot following a serious failure may justify a different approach from a stable repeat program.
An illustrative apparel setup
| Defect class | Illustrative approach | Important limitation |
|---|---|---|
| Critical | No critical defects accepted in the sample | Safety and legal issues may require stronger controls than ordinary AQL sampling |
| Major | AQL 2.5 is a frequently seen buyer starting point | The contract and product risk must define the actual value |
| Minor | AQL 4.0 is a frequently seen buyer starting point | A cosmetic market or premium product may require tighter control |
This example is not an industry rule and should not be copied into a purchase order without review. Buyers must define what counts as a defect, whether they count defective units or individual defects, and which official sampling table and edition govern the decision. The sample size and acceptance numbers should be taken from the chosen plan, not improvised from an online calculator with unknown settings.
Critical, Major and Minor Defects
Defect classification connects a finding to customer and business risk. The same physical issue can be classified differently depending on location, severity and product.
Critical defects
A critical defect creates an unacceptable safety, regulatory or serious-use risk. Examples can include a broken needle or sharp metal fragment, accessible dangerous hardware, mold contamination, a prohibited component, or required labeling so wrong that sale would breach the target market’s rules. The buyer’s manual must define critical defects and the action required.
Major defects
A major defect is likely to cause rejection, return, functional failure or substantial departure from the approved product. Denim examples include an open crotch seam, broken zipper, unsecured rivet, wrong size label, a critical measurement outside tolerance, severe panel shade mismatch, a missing pocket, wash outside the approved range or distressing that exposes an unapproved area.
Minor defects
A minor defect departs from the standard without materially affecting function or ordinary saleability. Examples may include a small removable thread tail, slight non-prominent stitch irregularity or a minor appearance issue away from a focal area. Several minor issues on one garment can create a major overall appearance problem; the classification guide should explain how accumulation is handled.
Location changes severity
A small wash spot inside a pocket may be minor. The same spot at center front may be major. A loose thread is different from a broken structural stitch. A measurement miss at a decorative tab does not carry the same risk as a tight waist. Use photographs and product zones to make classification consistent.
Design features are not defects
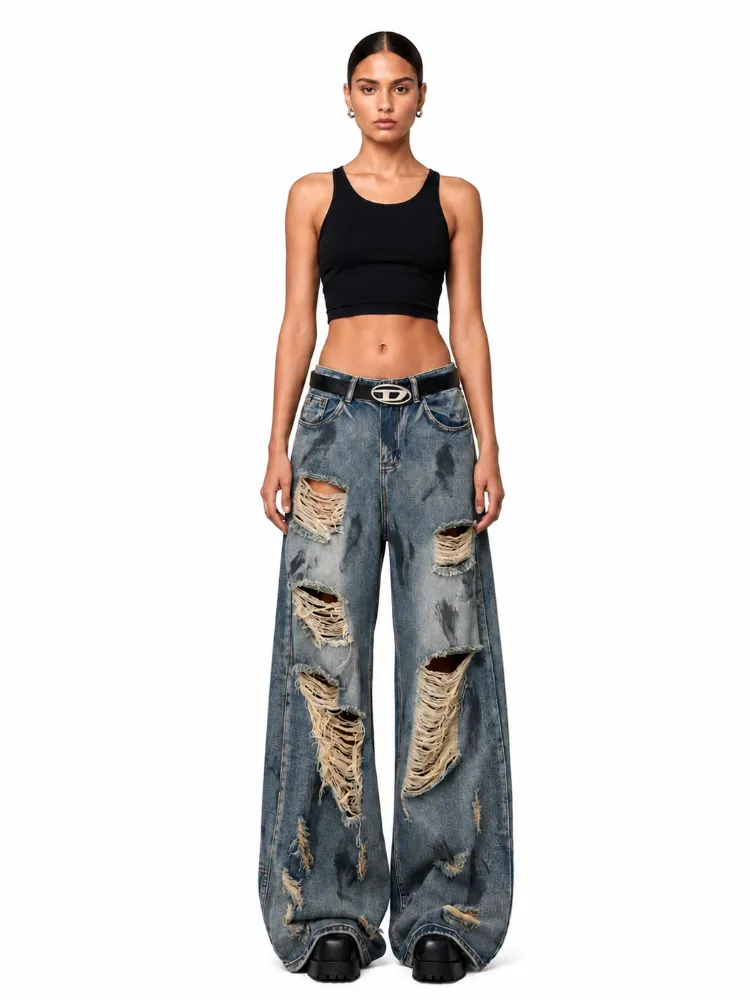
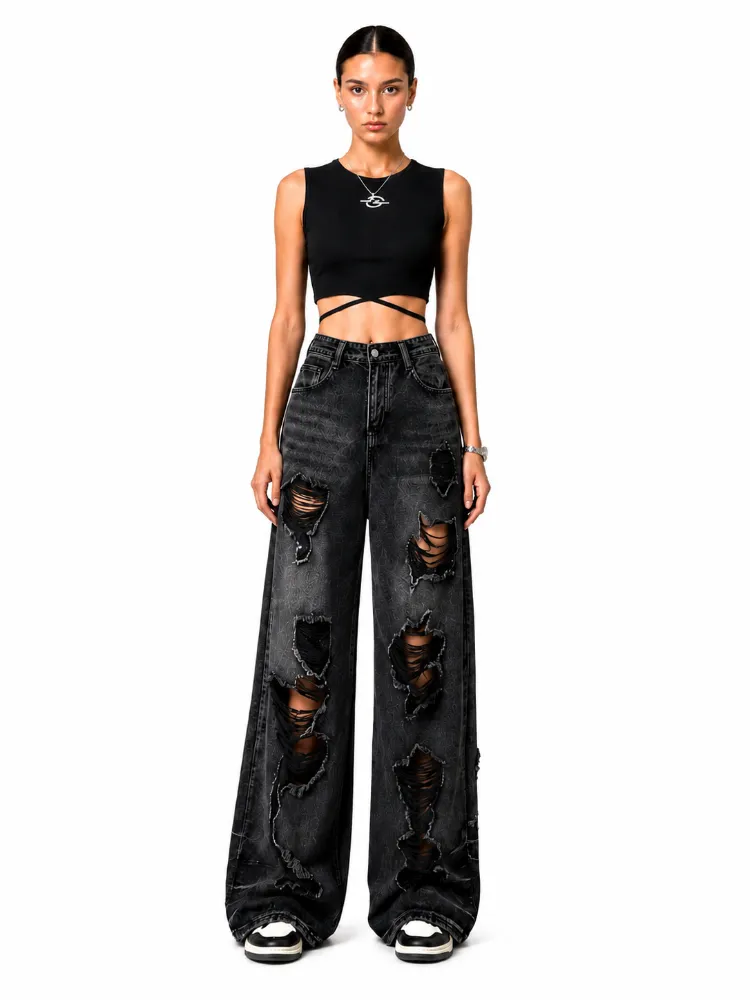
Intentional slubs, vervagen, bakkebaarden, slijtage, holes, raw edges and asymmetric treatments must be represented in the approved standard. The inspector should judge whether production stays inside that design range. Without a range, creative variation becomes impossible to separate from poor control.
Build the Approved Reference Package
An inspector can only compare production with what the brand has defined. The reference package should be available at the inspection location and carry a clear approval status.
Include:
- purchase order, style number, kleur, size range and quantity breakdown;
- final tech pack and bill of materials;
- approved graded measurement chart and tolerances;
- sealed PP sample or approved top-of-production sample;
- fabric and wash shade band, including acceptable light and dark limits;
- verontrustend, whisker, slijtage, print and embellishment standards;
- construction diagrams and seam requirements;
- trim, label, artwork and packaging approvals;
- defect classification list with photographs;
- required test reports and expiration or lot conditions;
- sampling plan, AQL values and release authority.
Every document needs a revision. De denim tech pack guide explains why the measurement chart, patroon, wash and comments must move together. An inspector using a superseded chart can reject correct production or pass the wrong product.
Select Cartons and Garments Correctly
A random sample must represent the lot. Selecting the cleanest open carton beside the inspection table defeats the purpose.
Confirm the lot first
Compare the packing list, carton count and available goods with the purchase order. Record incomplete quantities, unpacked stock and goods at another location. A sample cannot represent units that were not available for selection.
Distribute carton selection
Choose cartons from different areas, pallet heights and packing sequences. Include different styles, colors and sizes in proportion to the lot or according to the buyer’s required allocation. Record selected carton numbers so the choice can be traced.
Select units inside cartons
Do not take only garments from the top layer. Draw from different positions and inner packs. If a carton contains size or color assortments, verify that the actual ratio matches the carton marking.
Separate inspection samples when necessary
The workmanship sample, measurement sample and destructive-test sample may follow different plans. Garments opened for seam strength, hardware pull or wash testing should be recorded separately. Do not quietly replace failed destructive-test units with fresh ones until a pass appears.
Protect randomness
The factory can make cartons accessible but should not choose the sample. If cartons have been preselected or rearranged, note the limitation and consider expanding or rescheduling inspection.
Measure Finished Denim Garments
Measurement inspection confirms whether the size and shape delivered match the approved specification. It should use the commercial finished garment after the correct wash and conditioning.
ISO 18890 defines main garment measurement points and methods, with additional points agreed by the parties. A brand can use its own method, but the POM diagram and written instruction must be precise enough for both factory and inspector.
Before measuring
- Confirm style, kleur, size, wash and sample identity.
- Condition garments for the buyer’s stated period and environment.
- Close buttons and zippers according to the measurement method.
- Lay the garment flat without stretching it into the target.
- Use a calibrated tape and a stable table.
Critical jeans measurements
Taille, heup, voorkant stijgen, back rise, dij, knie, binnenbeenlengte, outseam and leg opening are common. Styles may also require waistband height, fly length, cargo-pocket position, yoke depth and artwork placement. De jeans fit sample approval guide explains POM methods and fit significance in detail.
Tolerance is not a new target
If a half-waist target is 42 cm with a plus or minus 1 cm tolerance, 43 cm may be acceptable for the inspected unit. The next production run should still target 42 cm. Repeated measurements clustering near one limit indicate process drift even if individual units pass.
Record every result
Do not report only averages. Record the size and actual measurement of each sampled garment. An average can hide one tight unit and one loose unit. Identify points outside tolerance and classify them according to the buyer’s defect guide.
Inspect Wash, Shade and Surface Effects
Wash inspection needs controlled lighting and an approved physical range. Phone photographs are poor standards because exposure, screen and white balance vary.
Schaduw
Compare garments with the approved standard and shade-band limits under the specified light source. Review face and back, panels, zakken, waistband and seams. Identify lot-to-lot variation, side-to-side shading, panel mismatch and unacceptable cast.
Whiskers and sanding
Check position, direction, intensity, symmetry and transition. The effect should look integrated with the garment rather than sitting as an isolated stripe. Hand sanding may vary, so the standard should define an acceptable visual range.
Distressing and holes
Measure critical placement from stable garment points after washing. Check opening size, remaining yarns, edge character and internal backing. Reject cuts that extend into structural seams or outside the approved zone.
Backstaining and dirty cast
Indigo redeposited during washing can dull pocketing, etiketten, weft yarns and intended contrast. Compare internal components as well as the outside. Severe or uneven backstaining may indicate rinse or bath-control problems.
Hand feel and odor
Compare softness, dryness, coating feel and flexibility with the sealed sample. A strong chemical, mildew or damp odor requires investigation. Odor is not solved by adding fragrance before packing.
Leg twist and dimensional change
Inspect seam position and left-to-right balance after conditioning. Use the agreed method and tolerance. Luokugg's denim shrinkage and leg-twist guide covers the fabric and process controls behind these defects.
Inspect Sewing and Construction
Start with structure before cosmetic trimming. A clean garment can still contain an open seam, missed bartack or weak belt loop.
Inspect:
- broken, skipped, loose or unbalanced stitches;
- open seams and raw edges escaping the overlock;
- naadtoeslag, topstitch spacing and row alignment;
- puckering, wavy seams and fabric damage at needle lines;
- unsecured chainstitch ends and incomplete backtacking;
- crotch, opstaan, inseam and outseam security;
- tailleband vorm, belt-loop attachment and hem finish;
- pocket symmetry, opening strength and bartack placement;
- left-to-right panel alignment and garment balance;
- repair marks, needle holes, oil, chalk and soil.
Check the inside as carefully as the outside. Pocket bags can be caught in seams, labels can be sharp, thread nests can abrade skin and raw edges can open after laundering. A premium outside does not excuse a poor internal finish.
De denim seam construction guide explains lockstitch, chainstitch, safety stitch, draad, SPI and reinforcement requirements that can be turned into inspection checkpoints.
Check Hardware, Trims and Functions
Operate every functional feature in the sampled garments. Do not accept an untested zipper because it looks straight.
Zippers
Open and close the zipper through its full travel. Check slider movement, locking, bottom stop, top stop, tape security and whether the fly catches fabric. Confirm brand, finish, size and color against the BOM.
Buttons and snaps
Fasten and release them. Check setting, rotation, cap damage, sharp edges and alignment with the buttonhole. A button that is secure but impossible to use is a functional defect.
Rivets
Check cap and post pairing, surface finish, sharp points, crushing and attachment. Inspect the reverse inside the pocket. An incorrectly selected post can feel secure initially and loosen after wear.
Drawcords, buckles and adjusters
Check length, symmetry, end security, movement and entrapment or market-specific safety requirements where applicable. Confirm that hardware does not damage adjacent denim during use.
Borduurwerk, sequins, studs and patches
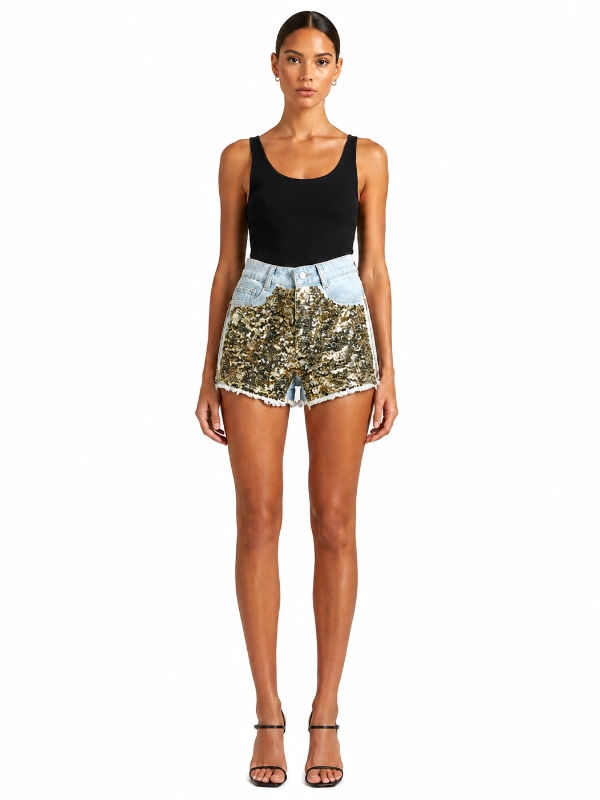
Check position, attachment, missing pieces, sharpness, backing and wash damage. Compare density and distribution with the approved artwork rather than judging decoration only from a distance.
Etiketten, Packaging and Shipment Details
Product labeling
Verify brand label, size label, fiber content, care instructions, country of origin and any market-required information against approved artwork and legal review. Check language, spelling, order, location, attachment and readability. A beautifully made garment with the wrong fiber label can be a critical commercial problem.
Hangtags and barcodes
Scan representative barcodes where possible. Match SKU, style, kleur, size and price information with the order. Confirm tag position, string, fastener and customer-specific ticketing.
Folding and polybags
Compare folding method, tissue, warning marks, ventilation holes and bag size with the packing instruction. Inspect for trapped moisture, excessive compression and dye transfer at dark-to-light contact points. See the denim colorfastness testing guide for storage-migration risks.
Cartons
Verify dimensions, board condition, sealing, marks, assortment and quantity. Cartons should protect the garment through the stated distribution route. Record damaged, wet, crushed or contaminated cartons.
Quantity and assortment
Compare actual packed ratios with the packing list. Count selected cartons completely rather than relying only on outer marks. Short shipment, size substitution and mixed color can be invisible in a workmanship-only inspection.
Connect Final Inspection With Laboratory Testing
Some properties cannot be judged reliably at an inspection table. The final report should verify that required laboratory evidence exists and refers to the correct product, material and lot.
Depending on product and market, reports may cover:
- vezel samenstelling;
- dimensional change and skew;
- dry and wet rubbing;
- laundering, water and perspiration colorfastness;
- fabric and seam strength;
- tear and abrasion performance;
- knop, snap, rivet and zipper performance;
- restricted substances and buyer chemical requirements;
- market-specific safety and labeling compliance.
Check laboratory name, report date, method, specimen description, style or fabric identity, kleur, result and conclusion. A passing navy fabric report cannot automatically release black overdyeed production. A development report may not cover a later bulk-lot substitution.
Inspection and testing support each other. An inspector may notice severe dye transfer and request containment even if an earlier report passed. The brand then verifies whether the sampled production matches the report specimen and whether the process changed.
Write a Report That Supports a Decision
A useful inspection report allows someone who was not present to understand what was inspected, what was found and why the lot passed or failed.
Record:
- factory, location, inspection date and inspector;
- buyer, purchase order, style, color and delivery;
- ordered, produced, packed and available quantities;
- lot definition, sampling standard, level, AQLs and sample size;
- carton numbers and size/color distribution selected;
- critical, major and minor defect counts;
- measurement results by garment and POM;
- function, etikettering, packing and quantity findings;
- test-report verification;
- clear photographs with captions and scale;
- limitations, factory comments and inspector conclusion.
Photograph the whole garment before close-ups so the defect location is clear. Add a ruler where size matters. Use neutral captions: “left back-pocket top corner open 18 mm” is stronger than “poor pocket.” Separate factual findings from the release decision.
The inspector can conclude pass, fail, pending or another status defined by the buyer. Only an authorized person should approve concessions. A factory signature confirms that findings were received; it does not automatically change the result.
Handle Failed Inspections
A failed inspection should trigger containment before argument. Identify affected styles, colors, sizes, fabric lots, sewing lines, wash loads and cartons. Stop shipment until the buyer makes a documented decision.
Sort when the defect is identifiable
A 100% screen can remove a visible, consistently defined defect such as missing bartacks or wrong labels. Provide inspectors with pass/fail samples and record sorted quantity, repaired quantity and rejected quantity.
Rework only with an approved method
Repairs can create new damage. Removing a rivet may enlarge the hole; resewing can leave needle marks; rewashing can change shade and measurements. Trial the repair, approve it and inspect repaired goods separately.
Investigate the root cause
Ask why the process produced and failed to detect the issue. Correct machine settings, templates, work instructions, wash control, training or incoming material. “Operator careless” is rarely a complete root cause.
Reinspect a completed lot
A reinspection should use a new random sample under the buyer’s stated plan after sorting and rework are complete. Do not reuse only the repaired original sample. Attach the corrective-action evidence and previous report.
Use the result in the next order
Repeat defects should change control plans, not merely produce repeat apologies. Add early checkpoints, strengthen references and adjust supplier performance review. A final inspection has more value when its findings improve the next production cycle.
The broader private-label jeans manufacturing process connects these release decisions with sampling, material approval, bulk production and delivery.
Denim Final Inspection Checklist
- Purchase order, quantities and available goods are verified.
- The correct sampling standard, level and AQLs are documented.
- Cartons and garments are selected across the complete lot.
- Approved samples, shade bands and current specifications are present.
- Critical, major and minor classifications are buyer-approved.
- Measurements are recorded by size and point of measure.
- Was schaduw, vorm, hand, distressing and leg twist are checked.
- Inside and outside workmanship are inspected.
- Zippers, knoppen, klinknagels, pockets and adjusters function correctly.
- Print, embroidery and embellishment match artwork and security standards.
- Etiketten, streepjescodes, folding, polybags and cartons match approvals.
- Required laboratory reports match the inspected product and lot.
- Defects are photographed, located, measured and counted consistently.
- The release or concession decision is made by an authorized party.
Veelgestelde vragen
What is denim quality inspection?
Denim quality inspection is a controlled comparison of sampled production with the approved product, meting, wassen, vakmanschap, trim, labeling and packing requirements. It provides evidence for process correction or shipment release.
What does AQL mean in garment inspection?
AQL is an index used in an acceptance-sampling plan to determine sample size and acceptance or rejection thresholds for a defined lot. It is not a guarantee that the shipment is defect-free and should not be treated as an allowed production defect percentage.
What AQL should a clothing brand use?
The brand should select AQL values according to product risk, defect class, customer requirements, supplier history and the governing sampling standard. Major 2.5 and minor 4.0 are common commercial starting points, but they are not universal rules.
What is the difference between a major and minor garment defect?
A major defect is likely to cause rejection, return, functional failure or substantial departure from the approved product. A minor defect is a limited departure that does not materially affect function or ordinary saleability. Location and severity can change the classification.
Are rips and fading defects in denim?
Not when they are intentional and remain within an approved design range. Inspectors should compare position, size, intensity, remaining yarns, reinforcement and shade with sealed standards. Uncontrolled cuts or effects outside that range are defects.
When should final random inspection take place?
Final inspection should take place when production is complete and enough goods are packed to verify carton assortment and draw a representative sample across the lot. The buyer’s protocol should state the required completion and packing threshold.
Does a passed final inspection guarantee every garment is good?
Nee. Acceptance sampling supports a lot decision based on a random sample and defined statistical rules. It does not inspect every unit or remove all risk. Process control, in-line inspection and supplier quality management remain necessary.
What should happen after a failed denim inspection?
Contain the shipment, identify affected production, analyze the cause, sort or rework with an approved method, document corrective action and conduct a new random reinspection when required. Only an authorized buyer representative should approve a concession.
Final Takeaway
AQL does not create quality, and a long checklist does not replace an approved standard. Reliable denim inspection comes from connecting a representative sample with clear defect classes, controlled measurements, physical wash references, functional checks and traceable test reports. The result should tell the brand whether the lot is ready to ship and tell the factory what must improve.
Brands planning custom jeans, jackets or shorts can send Luokugg the tech pack, wasreferentie, doelhoeveelheid, inspection manual, AQL requirements and shipment schedule through the custom denim quotation form. Early agreement on inspection criteria prevents release disputes after production is packed.